
Distribute
If the default option to Email access links directly to participants is chosen on the Set Up page then this screen allows:
- The ability to send all email invites together or to send in waves
- The option to customise the email body text
Email survey invitations
When sending out invitations to the distribution created from the previous page, you can either invite all participants at once, or in waves
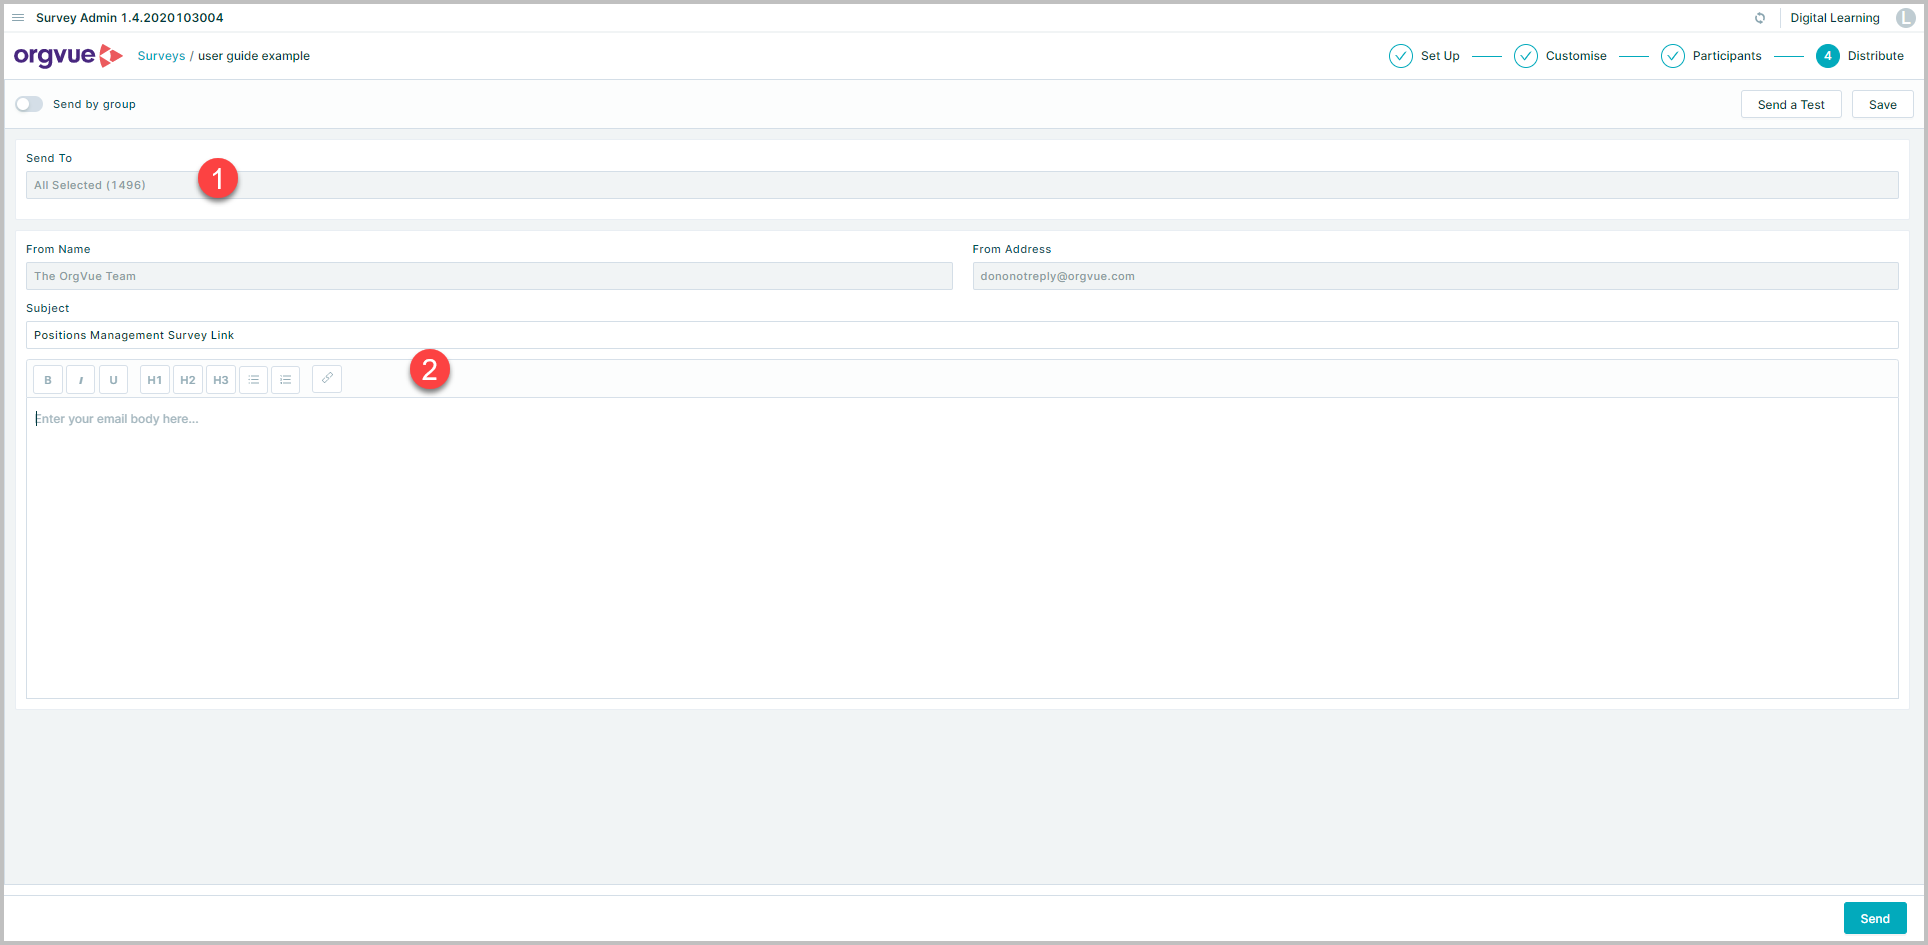
Send to All
The
Tofield will showAll Selected (_number of participants_)To change the scope at this stage, go back to Select Participants and amend the selection
Enter the email subject body text using the text editor
At this point, Survey Admin deploys the results datasets to the tenant
These datasets will be named using the specified prefix/suffix entered on the Set Up page and will contain all the new properties you have added as questions on the Customize page
Send in waves
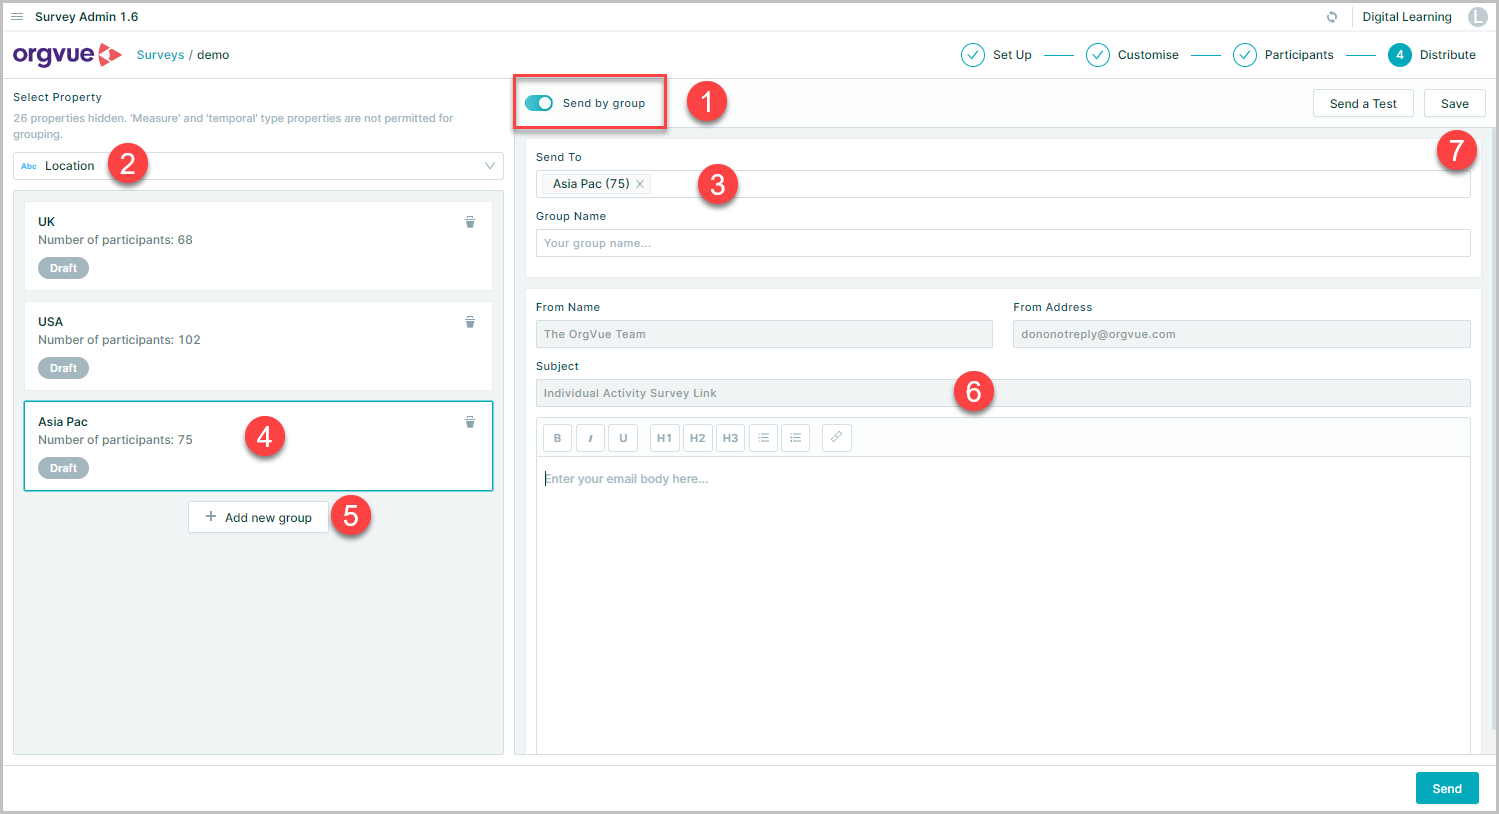
It is also possible to send out survey links in waves and/or to customize the email message for different groups, e.g. pilot and the rest, by department, by country etc
To do this:
- Switch on Send by group option on the left hand side
- choose the property you want to use to set up participant groups
- Choose the first group and choose buckets to include in that group, e.g. assuming you are setting up groups using the 'country' property, you may choose 'Brazil', 'Chile' and 'Colombia' buckets and name this Group 'Latin America'
- Each participant group (or invitation group) displays as a card on the left
- Set up other groups by creating a new group with 'Add new group'
- Configure each participant group
- You can save your group settings and send out each invitation when you are ready
Send a test email
To check how the survey invitation is formatted before sending it to all, click the 'Send a test' button to send an email to yourself
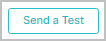
Note: The test invitation email does not contain a real survey link
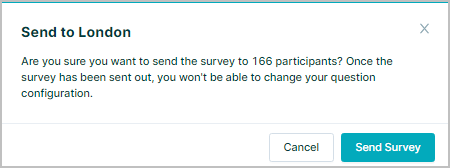
Once you are happy with the format of the survey emails and the sending groups, select the Send button to complete the process
A final confirmation message is displayed highlighting the number of participants, select Send Survey to proceed
If your distribution list contains email addresses in the incorrect format, Survey Admin will detect them and show you an alert before sending so that you can correct them

Invite new participants after survey state becomes active
If you need to invite people who do not exist in the source People dataset:
- Go to Orgvue and find the copied results People dataset (or the original People dataset if you've chosen 'Don't copy People dataset')
- Update this dataset with new people
- Go back to the Participant step in Survey Admin and click 'refresh' button near the login information at the top
- The table is updated with the latest People data
Find the people you want to add to the distribution list and select them
To find them quickly, search their email addresses or filter by the property that contains relevant flags
Track and Remind
Once the survey invites have been sent it is then possible to Track Progress & Send Reminders